
It’s a familiar scene of modern frustration. You bought a beautiful set of outdoor solar lights, excited for the effortless, wire-free glow they promised. You placed them with care, waited for the sun to do its job, and then… nothing. Or perhaps they worked for a week, shining as a testament to your cleverness, only to slowly fade into darkness, becoming expensive garden decorations.
Before you declare them junk and resign yourself to a dark yard, take a breath. The vast majority of “dead” outdoor solar lights can be revived. The issue is rarely that the entire unit is broken; more often, it’s one small, fixable part of the sun-to-light chain that’s been interrupted. Think of yourself as a solar light doctor. We’re going to run through a diagnosis, from the most common and simple fixes to the more involved ones. Grab your tools (a soft cloth and maybe a screwdriver), and let’s bring your lights back to life.
Step 1: The Initial Check-Up (The “Is It Plugged In?” of Solar)
First, eliminate the obvious. It sounds silly, but it’s the number one reason for failure.
- The On/Off Switch: Yes, many outdoor solar lights have a small, easy-to-miss switch. Ensure it’s in the “ON” position. This is often a first step out of the box or after a long storage period.
- The Protective Tab: Did you remove the thin plastic or paper tab insulating the battery when you first installed the light? If not, the battery is completely disconnected. Remove it.
- The Obvious Obstruction: Is the solar panel completely covered in mud, bird droppings, or fallen leaves? A dirty panel can’t charge. Give it a gentle wipe with a damp cloth.
Step 2: The Solar Panel Investigation (The Power Source)
If the basics are covered, the next suspect is the panel’s ability to gather energy.
- The Sunlight Audit: This is critical. Outdoor solar lights need direct sunlight, not just ambient daylight. Has a new tree branch grown over the spot? Has the seasonal sun path shifted, putting the panel in shadow for most of the day? Move the light to a location that gets a solid 6-8 hours of direct sun and test it for 48 hours. This single step solves about 50% of all performance issues.
- Panel Damage: Inspect the solar panel for any cracks or deep scratches. Physical damage can severely reduce its efficiency.
Step 3: The Battery Diagnosis (The Heart of the System)
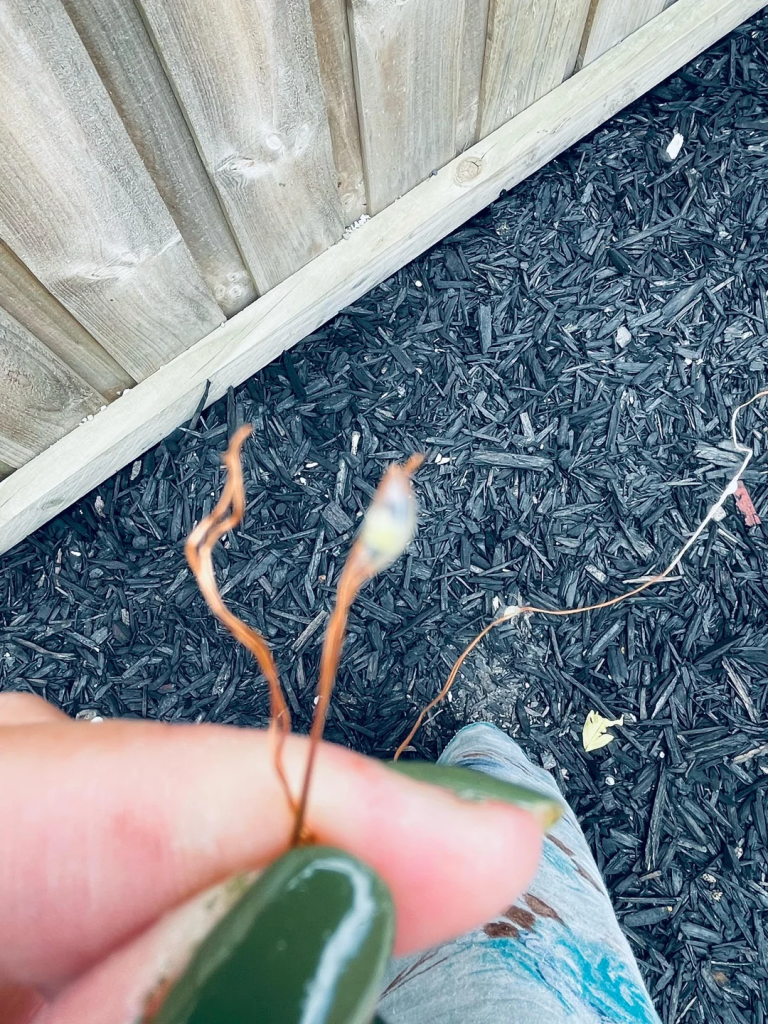
The rechargeable battery is the workhorse. It’s also the component most likely to wear out.
- The Replacement Test: This is the most definitive diagnostic step. Most outdoor solar lights have a user-accessible battery compartment. Open it (you may need a small screwdriver) and note the battery type (e.g., AA, AAA, or a 3.7V 18650 lithium-ion). Purchase a new, high-quality rechargeable battery of the exact same specification. Ni-MH batteries are commonly used. Install the new battery, give the light a full day’s charge in the sun, and see if it works.
- Why Batteries Fail: Rechargeable batteries have a lifespan of 1-3 years. They lose capacity over time due to daily charge/discharge cycles, and extreme heat or cold can accelerate this. If your lights are older, a battery swap is standard maintenance, not a sign of a faulty product.
Step 4: The LED & Sensor Check (The Output)
If the panel is sunny and the battery is new, the issue lies in delivering the power.
- Corrosion Check: Open the battery compartment and look at the battery contacts (the little metal springs or tabs). Do they look rusty or green? Clean them gently with a cotton swab and some vinegar or rubbing alcohol. Also check for corrosion where the light’s top half connects to the stake or mount.
- Sensor Issues (For Motion Lights): If you have a motion-sensor light that stays on all night or never turns on, the PIR sensor might be faulty or obstructed by a cobweb. Clean the sensor lens (a semi-translucent plastic piece) gently. Also, check its settings—some have sensitivity or duration dials that may have been accidentally adjusted.
FAQ: Quick Answers to Common Solar Light Gripes
Q: My light turns on but is very dim. What does that mean?
A: A dim light almost always indicates a weak charge. This is the classic symptom of a solar panel in too much shade, a dirty panel, or an old battery that can’t hold a full charge anymore. It’s the system telling you it’s running on empty.
Q: I replaced the battery, but the light still doesn’t work. Is it trash?
A: Not necessarily. Before giving up, double-check that you installed the battery with the correct polarity (+/-). If that’s correct, there’s a small chance the internal circuitry or the LED itself has failed. At this point, if the light is under warranty, contact the manufacturer. If not, it may be time to recycle it and replace it.
Q: How can I make my outdoor solar lights last longer in the winter?
A: Winter is tough: short days, weak sun, and cold that saps battery power. Best practices: 1) Clean panels weekly from snow and grime. 2) Temporarily relocate lights to sunnier winter spots if possible. 3) Manage expectations—runtime will be shorter. 4) For prolonged freezes, some people bring the lights inside to preserve the battery, treating them as seasonal decor.
Prevention & Care: Keeping Your Outdoor Solar Lights Shining Bright
A little maintenance goes a long way in preventing these headaches.
- Regular Cleaning: Wipe solar panels every few weeks.
- Seasonal Battery Swap: Consider proactively replacing batteries every 2 years for critical lights, like security lights by a door.
- Proper Winter Storage: In harsh climates, you can remove the batteries and store the outdoor solar lights indoors for winter to extend their lifespan.
A Note on Smart Design: Built to Avoid Problems
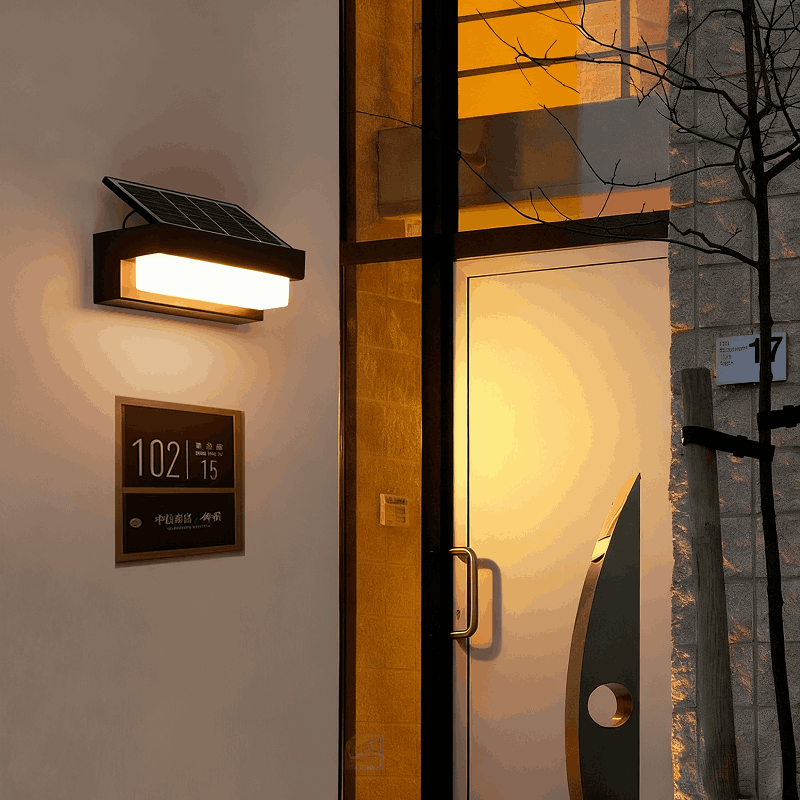
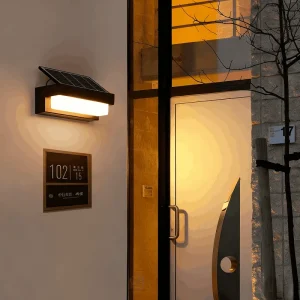
While any product can have issues, lights designed with robust components from the start give you a major head start. A product like the Modern Minimalist Design Outdoor Waterproof Solar Wall Light is engineered to minimize common failures. Its high-efficiency polycrystalline solar panel is built to capture more energy, even on less-than-perfect days. Its excellent waterproof and dustproof performance (a key spec often overlooked) protects the vital internal circuitry from the moisture that causes corrosion. This kind of thoughtful design means you spend less time troubleshooting and more time simply enjoying the reliable, 12- to 16-hour glow it provides on your patio or garden wall.
Fixing your outdoor solar lights is usually a simple process of deduction. Start with the sun, move to the battery, and check the connections. Most of the time, you’ll find a simple, inexpensive solution that restores your faith—and your yard’s evening ambiance—in under an hour. Now, go be the hero your darkened garden path needs.
Discover the minimalist solar wall light designed for reliable, all-night performance with a high-efficiency panel and durable build.