
You’ve unboxed your shiny new outdoor solar lights. They look great, full of promise for transforming your yard. You grab a screwdriver, head outside, and… start guessing. If this sounds familiar, you’re not alone. Most people think installing solar-powered lights is a no-brainer: stick them in the ground or slap them on a wall. But that guesswork is exactly why so many lights underperform—ending up dim, short-lived, and disappointing.
The truth is, the 15 minutes you spend installing your outdoor solar lights correctly will impact their performance for the next 5 years. It’s not just about securing them in place; it’s about setting them up for success. Think of it not as a chore, but as the most important step to ensure you get the brilliant, reliable light you paid for. Let’s ditch the frustration and walk through the foolproof process.
The Prelude: Avoiding the Two Biggest Installation Blunders
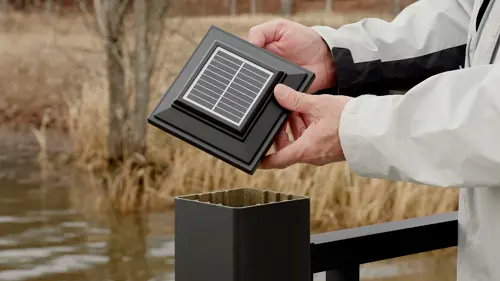
Before we pick up a tool, let’s clear the runway by avoiding the classic mistakes that doom flights from day one.
Blunder #1: The Shady Spot. Placing a outdoor solar light in a beautiful, shaded nook because it “looks right” is the top killer. No sun = no charge = no light. It’s that simple.
Blunder #2: The Glare Bomb. Mounting a light directly where it will shine into a neighbor’s window or create a blinding glare as you walk up your own path. Good lighting illuminates surfaces, not eyes.
With those in mind, let’s get it right.
Phase 1: The Strategic Placement & Sun Audit
This phase happens before you even open the installation hardware. It’s all about planning.
Grab Your Sun Tracker (It’s Your Phone): Over the next day, pay attention to your intended installation spot. Use your phone to take a few photos at 9 AM, 12 PM, and 3 PM. Is the spot bathed in direct sunlight for at least 6-8 hours, or is it dappled with shadows from trees, fences, or the house itself?
The Golden Rule: The solar panel must have a completely unobstructed view of the sky for the majority of the day. If your perfect aesthetic spot is shaded, you have two choices: 1) Choose a different, sunnier spot, or 2) lower your expectations for brightness and runtime significantly. For wall-mounted lights, consider if the overhang of the roof will cast a shadow.
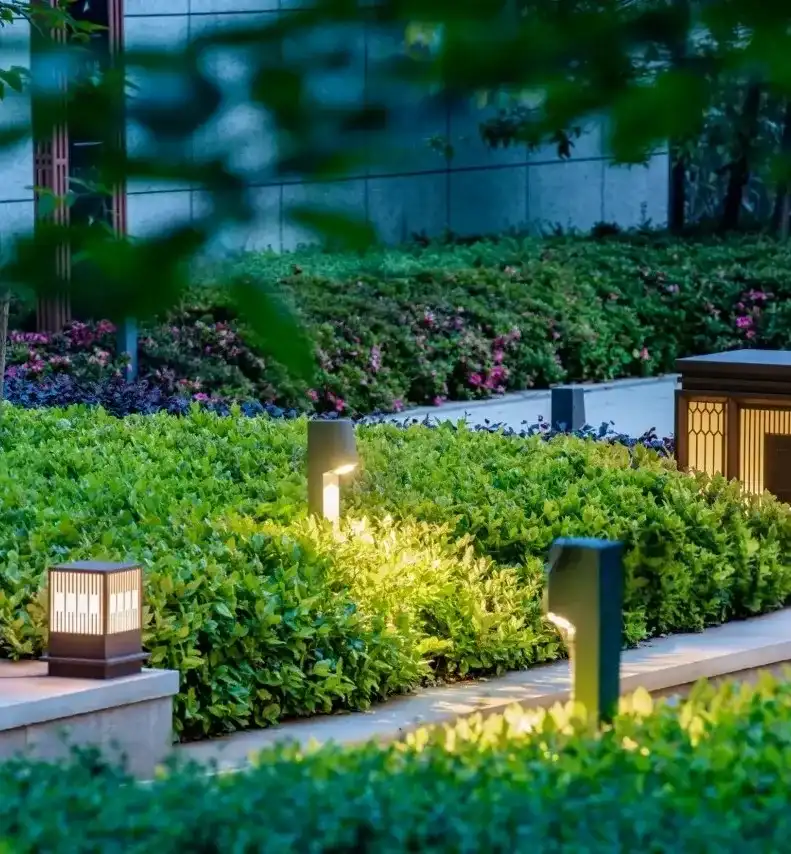
Pro Tip for Pathways: When lining a garden path, don’t just stick lights symmetrically on both sides. Place them staggered (left, right, left) to create better depth and visual interest, and ensure each one’s panel gets sun.
Phase 2: The Installation Process
Now, with your sun-approved location locked in, let’s get physical. The method varies by light type.
For Stake Lights (Pathways & Gardens):
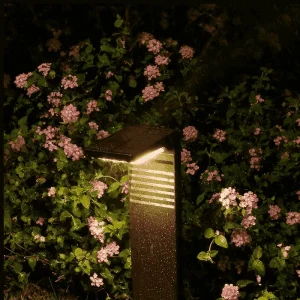
- Prep the Soil: Don’t just force it. If the ground is hard, use a small trowel or a screwdriver to create a pilot hole. This prevents bending or breaking the stake.
- Insert and Secure: Gently push the light into the ground. Ensure it’s standing straight and firm. If it wobbles, pack a little extra soil around the base.
- Panel Check: Immediately after placing it, look at the solar panel. Is it facing upward toward the sky? For some angled designs, ensure it’s tilted toward the southern sky (in the Northern Hemisphere) for maximum sun exposure.
For Wall-Mounted Lights (Security & Ambiance):
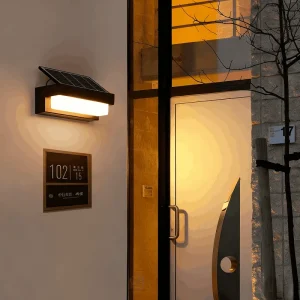
- Mark & Level: Use the provided mounting bracket as a template. Hold it against the wall and use a pencil to mark the screw holes. This is critical: Use a small level to ensure the bracket is perfectly straight. A crooked light is an eyesore.
- Drill & Anchor: Drill pilot holes for your screws. If you’re mounting onto siding or a material that needs extra support, use appropriate wall anchors.
- Attach & Click: Secure the bracket to the wall, then attach the light body to the bracket. It usually clicks or locks into place. Give it a gentle tug to ensure it’s secure.
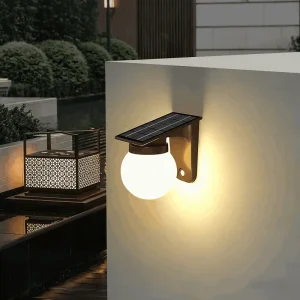
A light like the Modern Style Circular Outdoor Solar Lights is designed with this process in mind. Its sleek, modern design looks fantastic, but it’s the secure mounting that ensures its glare-proof, warm light is positioned perfectly on your courtyard or balcony wall for years to come, not dangling awkwardly after a season.
Phase 3: The Initial Setup & “First Charge” Ritual
Your light is physically installed. Now, we wake it up properly. This step is non-negotiable.
- Find the Switch: Locate the on/off switch (usually on the bottom or near the battery compartment) and turn it ON. Many lights ship in the “off” position to preserve battery.
- The 48-Hour Full Sun Charge: Before expecting optimal performance, give your light two full days of direct sun without turning it on at night. This initial, deep charge “conditions” the battery and ensures it starts life at full capacity. Resist the temptation to test it the first night!
- Sensor Settings (If Applicable): If you have a motion-sensor light, locate any adjustment dials for sensitivity or duration. Start with factory settings, then adjust based on your needs after the initial charge.
Phase 4: Fine-Tuning & Long-Term Success
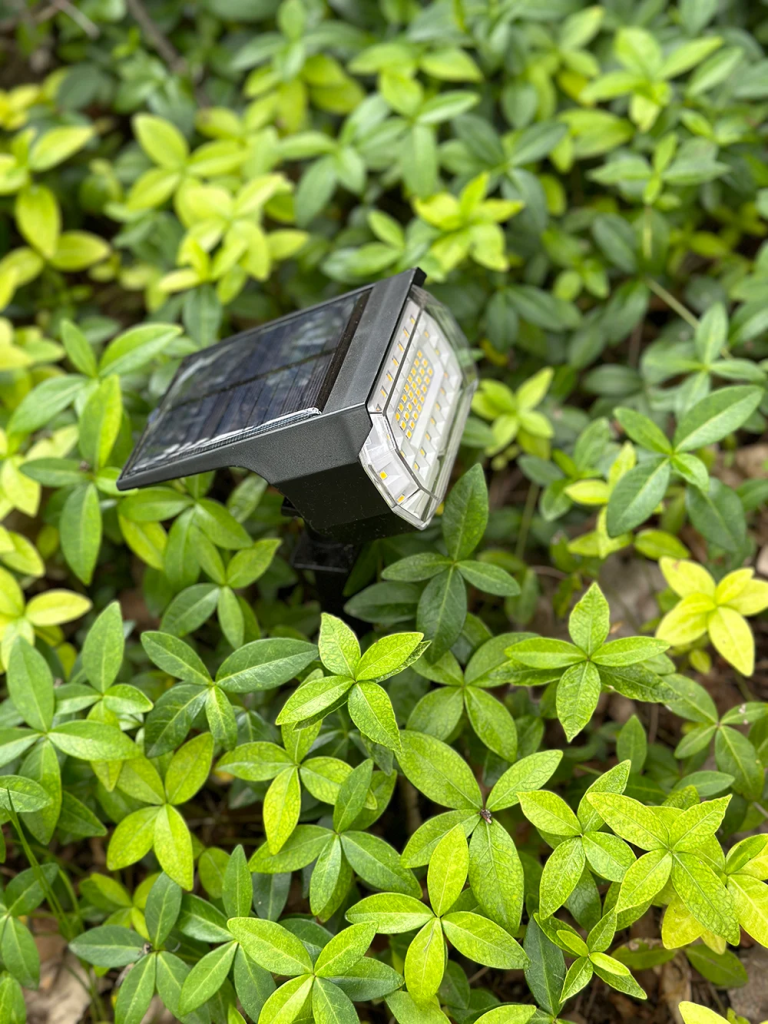
After the first few nights, you can optimize.
- Angle Adjustment: Some panels can be tilted. As seasons change, a slight adjustment can recapture more sun.
- Cleaning Schedule: Put a reminder in your calendar to wipe the solar panel with a damp cloth every month or two. Dust, pollen, and bird droppings are stealthy performance killers.
- Battery Replacement Plan: Mark your calendar for 2 years from now. The rechargeable battery is a consumable part. Proactively replacing it with a high-quality NiMH or lithium battery will restore your light to like-new performance and extend its life for years more.
FAQ: Your Installation Questions, Answered
Q: Can I install solar lights on a wooden fence or vinyl siding?
A: Absolutely. For wooden fences, standard wood screws work fine. For vinyl siding, it’s best to use a screw designed for vinyl (with a wide, flat head) and try to hit the underlying stud or solid backing behind the siding to avoid denting or cracking it. Always drill a pilot hole.
Q: I live in a windy area. How can I keep my stake lights from tipping over?
A: For loose soil, ensure the stake is pushed in deep. For windy spots or hard ground, you can use a small amount of quick-set concrete in the pilot hole for an ultra-secure base or purchase separate, heavier ground stakes designed for stability.
Q: How high should I mount a wall light or motion-sensor light?
A: For general ambient wall lights, 6-8 feet above the ground is a good standard. For motion-sensor security lights, aim for 8-10 feet high. This height gives the motion sensor a broader detection field and keeps the light itself out of easy reach.
Enjoy the Glow (You’ve Earned It)
Installing outdoor solar lights correctly isn’t about hard labor; it’s about smart, intentional steps. By prioritizing sun, securing the fixture properly, and initiating the battery with care, you transform a simple gadget into a reliable, long-term feature of your home.
The best outdoor solar lights are the ones that work consistently, night after night. That consistency starts with you on installation day. So take that extra moment to find the sunny spot, use the level, and let the battery charge fully. Your future self, enjoying a perfectly lit patio or a safely illuminated doorway on a dark evening, will thank you.
Install your outdoor solar lights the right way today and enjoy brighter, worry-free nights for years to come.