
Have you ever excitedly unboxed a new outdoor solar light, only to frown at your yard wondering, “Where is the best place to put this?”
You might pick a spot that looks good but soon find the light doesn’t last long or the sensor is unresponsive.
Don’t worry; this is a rite of passage for almost every solar light beginner.
The problem usually isn’t the light itself, but rather finding the “right” spot.
Solar lights are like partners that need a regular routine—they need to “eat” enough sunlight during the day to work at full capacity at night.
“Think of yourself as an outdoor lighting planner. Your goal is to find that perfect home where performance is maximized through strategic placement.”
Step 1: Planning and Conception—”Paper Maneuvers” Before Installation

Before grabbing your tools, spend ten minutes on critical planning to avoid most future headaches.
1. Define Your Core Goal: What Do You Want?
- Security: Illuminating steps and porches to dispel dark corners.
- Ambiance: Accenting garden paths and setting the mood for the patio.
- Convenience: Smart lights that brighten when you arrive and dim when you leave.
2. Perform a “Sunlight Audit”: Tracking the Sun’s Path
This is the most important step! Observe your yard at different times (morning, noon, and afternoon) and mark areas that receive at least 6 hours of direct sunlight.
Be sure to avoid:
- Permanent Shadows: Under eaves, directly under dense trees, or on the north side of high walls.
- Seasonal Shadows: Areas that are clear now but might be blocked when summer leaves grow in.
Remember: Sunlight is its only food. The importance of the charging location far outweighs all other factors.
Step 2: Zonal Installation—Golden Positions for Different Lights
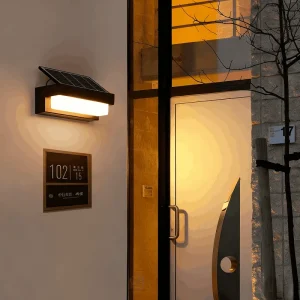
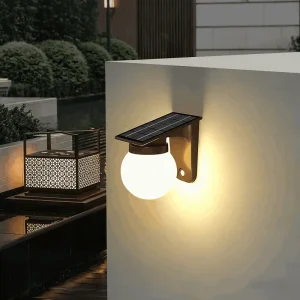
A. Solar Wall Lights: Guardians on the Wall
Ideal for functional lighting, these should balance sunlight exposure with aesthetic placement.
- The Golden Spot: South- or southwest-facing walls (in the Northern Hemisphere) to catch intense afternoon sun.
- Installation Height: Usually 2 to 2.5 meters above the ground for the widest light coverage.
- Sensor Sensitivity: For PIR models with a 6-meter range, ensure the sensor faces your walking path, not moving branches or the street.
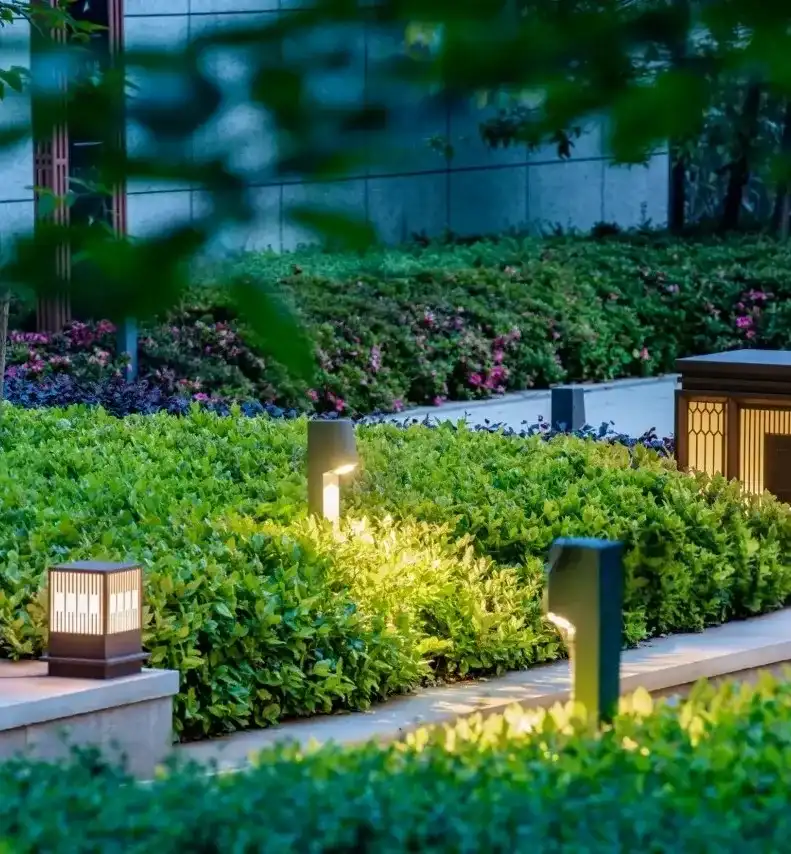
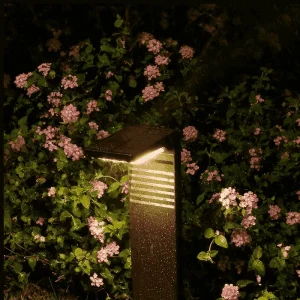
B. Solar Garden/Landscape Lights: Starlight on the Ground
These stake outdoor solar lights are artists of atmosphere, but they are easily “starved” by poor placement.
|
Dos |
Don’ts |
|---|---|
|
Place in open lawns or flower bed edges. |
Do not “bury” them deep inside thick shrubs. |
|
Arrange in clusters for visual guidance. |
Avoid the direct spray path of high-pressure sprinklers. |
|
Ensure the panel faces the open sky. | Don’t force stakes into hard soil; soften it with water first. |
[Explore professional-grade outdoor lighting layouts.]
Step 3: Post-Installation Optimization and “Taming”
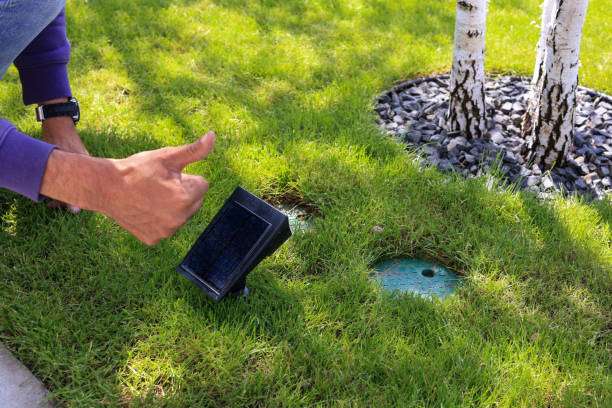
Once the lights are up, the work isn’t quite finished. Spend a few days observing and “taming” your lights.
- Charging Performance: Touch the solar panel during the day; if it feels slightly warm in the sun, it’s likely charging effectively.
- Function Testing: Walk 6 meters away at night to check sensor sensitivity. Sometimes a slight adjustment in installation angle solves detection issues.
- Seasonal Adjustments: As the sun’s angle drops in autumn/winter, move lights to walls with longer exposure if shadows begin to interfere.
Frequently Asked Questions (FAQ)
Q: I live in a place with many rainy winter days. Are solar lights still suitable?
A: Yes, but they require finer planning. Maximize limited sunlight by choosing the most open spot possible. Consider models with 12-16 hour runtimes, as their larger batteries can store more “surplus food” during sunny spells for use during consecutive rainy days.
Q: Can solar lights be installed under trees? It looks more natural.
A: This is a common misconception. It is strongly discouraged. Leaves filter out most effective sunlight. A workaround: install the light in a sunny spot nearby, but angle the light head to project the beam toward the tree area.
Finding the best installation position for your outdoor solar lights is a game of cooperation with the sun. It doesn’t require advanced electrical knowledge—just careful observation and planning based on common sense.
“Ample Sunlight + Correct Height/Angle + Intentional Design = A Satisfied Light at Peak Performance.”
Now, take your lights and re-examine your courtyard. That corner most favored by the sun might be the perfect home it has been waiting for.
By placing them with care, you aren’t just investing in a light; you are investing in a lasting, reliable, nightly gift of illumination.
Get expert tips on placing outdoor solar lights for maximum sunlight, longer runtime, and dependable night performance.